


How To Roof A House: DIY Guide For Homeowners
If you’re considering replacing the roof on your house by yourself, you need to study up on this DIY guide before you get started. Roofing a house takes a lot of time, materials, and effort! Be sure to do your due diligence before getting started. If you decide halfway through tearing off the shingles that you’re not cut out to roof a house, you risk damage to yourself and your home.
Before we get into the step by step guide, ask yourself the following questions:
Do you have the time to finish this project?
As we mentioned above, a roofing project is not something you can stop and get back to a few weeks later. If you leave a portion of your home without shingles or underlayment, you risk severe damage to your home.
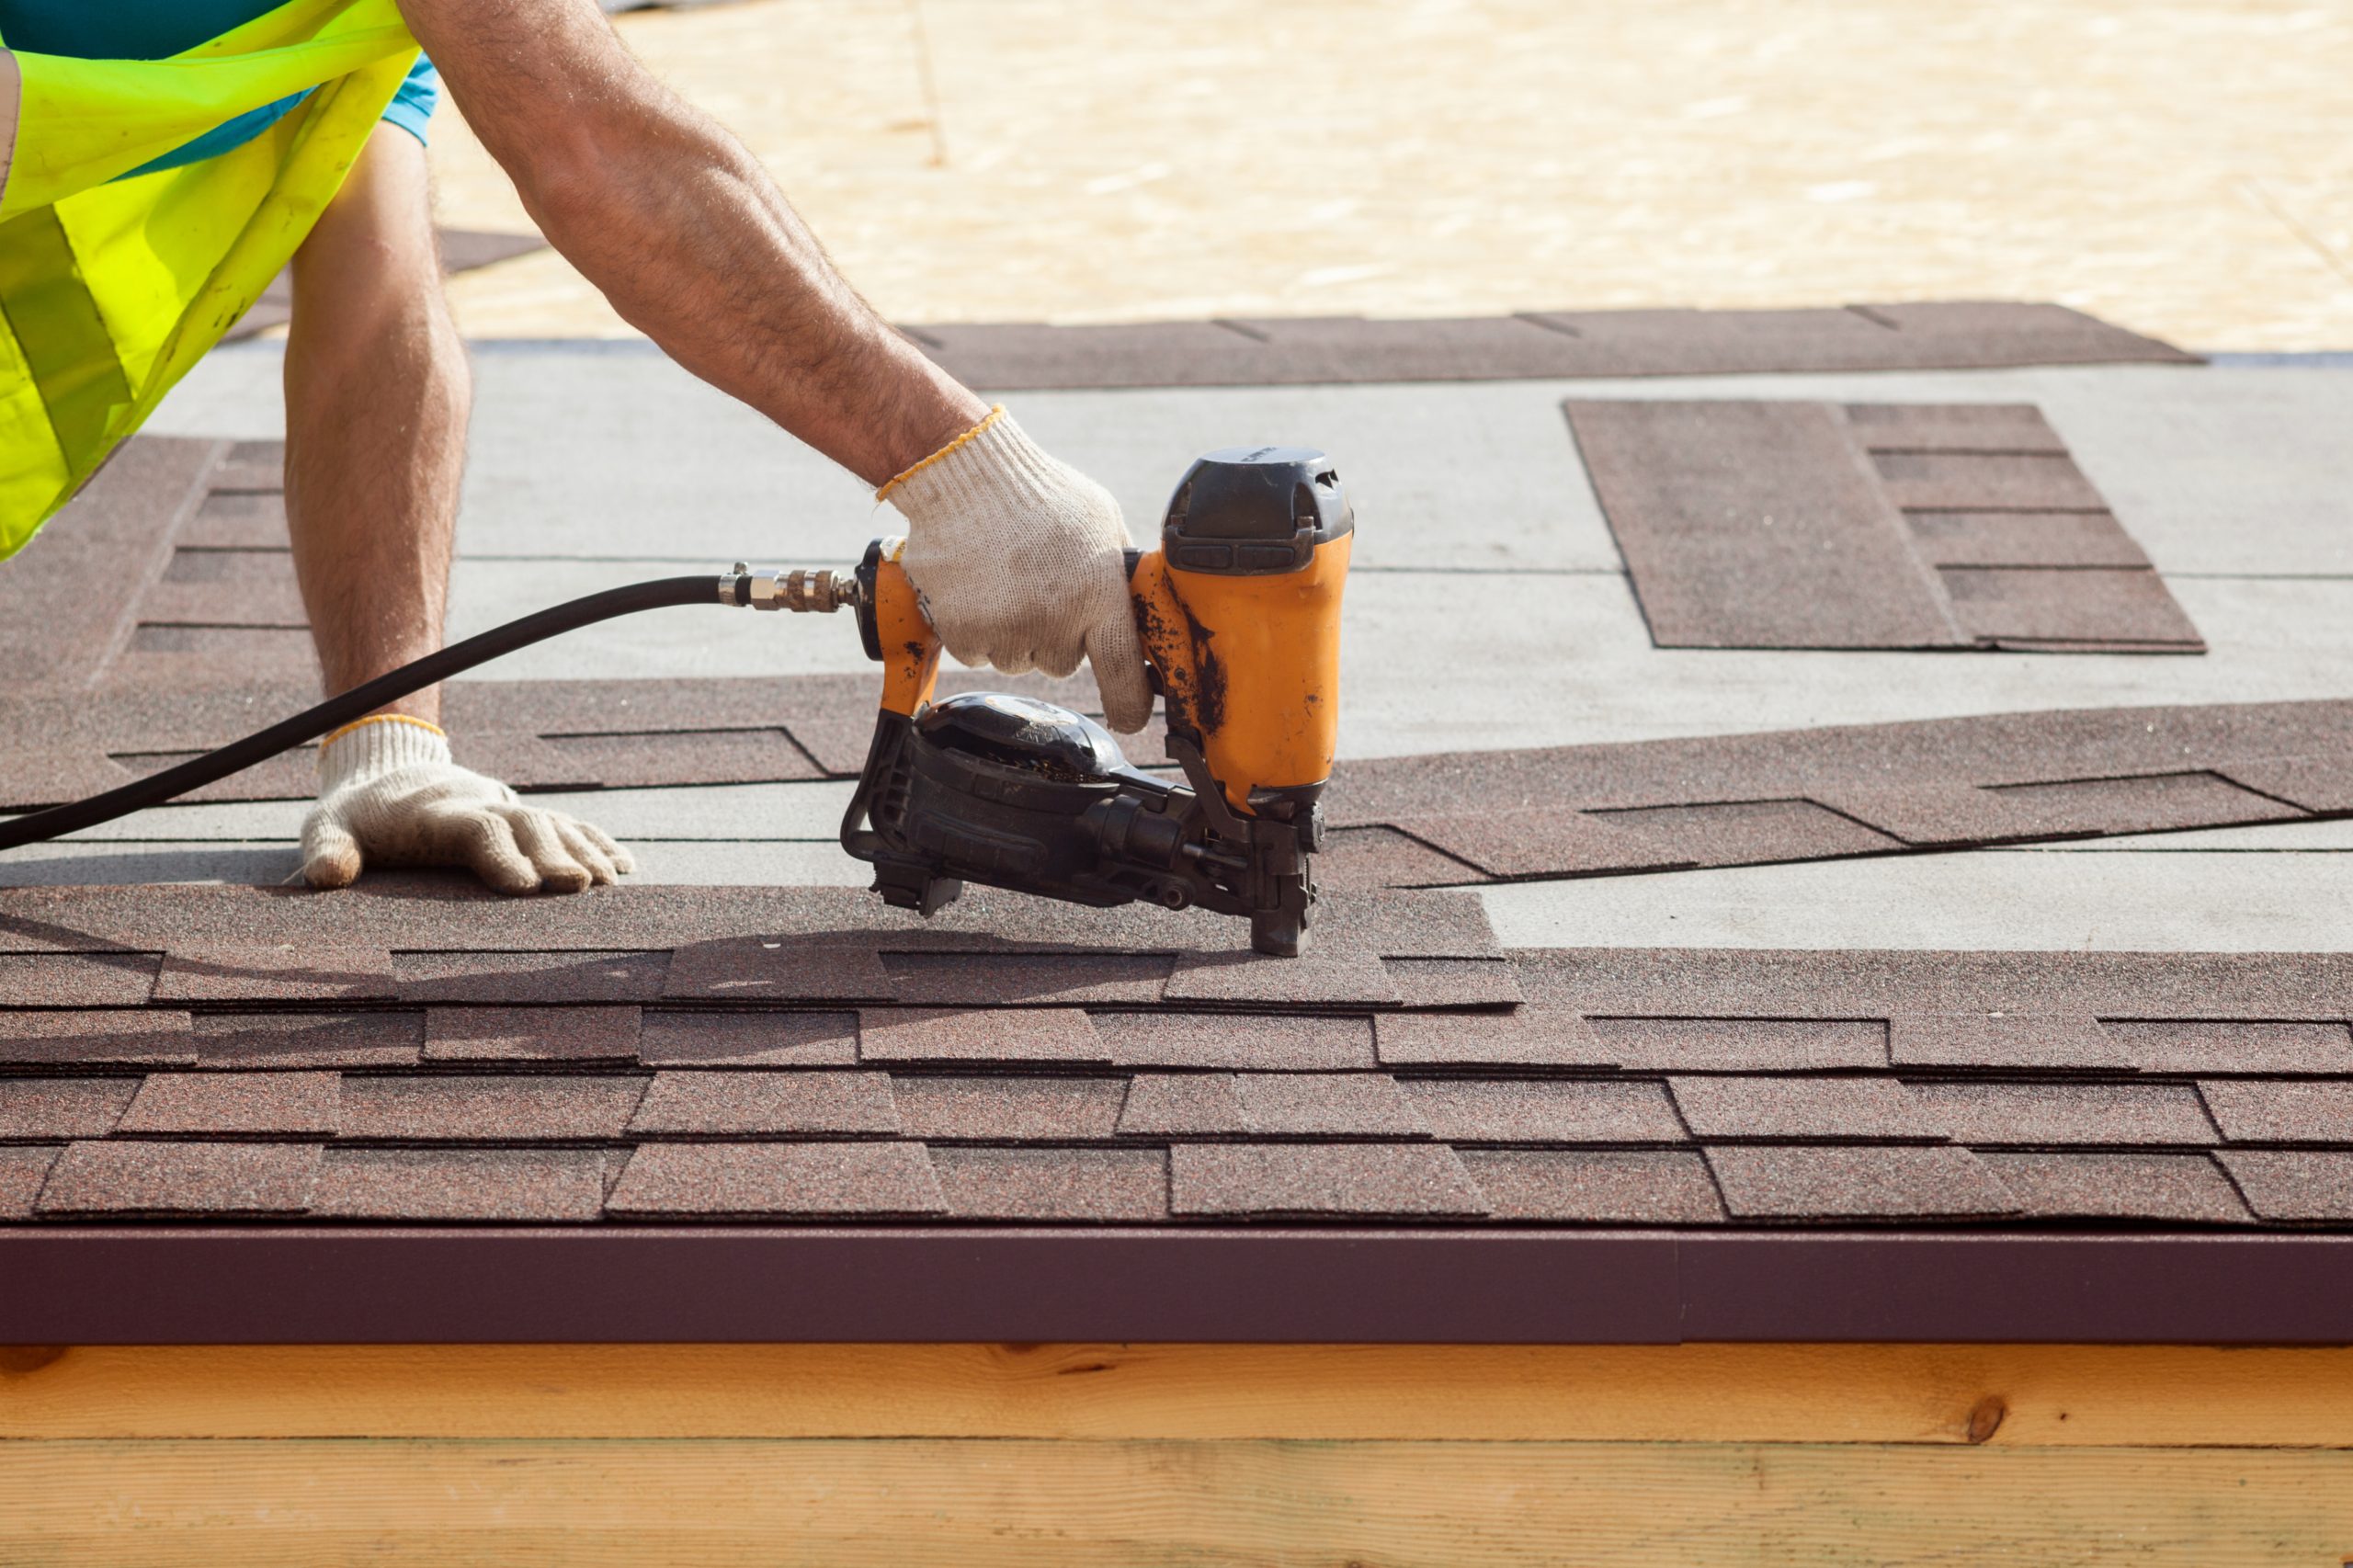
Construction worker putting the asphalt roofing (shingles) with nail gun on a new frame house
Do you consider yourself “handy”?
Roofing is a form of construction, so it’s important to have comfortability working with tools. Are you generally confident when doing DIY projects? Roofing a house could become confusing fast if you’re unfamiliar or uncomfortable with handy work.
The obvious question: Are you afraid of heights?
We hate to say it, but if that’s the case, then roofing a house is not for you. Depending on the roof, you’ll be anywhere from ten to fifteen feet in the air, on a slanted surface, carrying heavy materials, and working with tools. If you’re afraid of heights, now might be the time to call your local roofing contractor.
Okay, you’ve answered the questions. Can you roof your house yet? Not quite. Let’s go over the list of tools and materials you need to roof your house. And don’t worry, we’ll explain what the materials are and how the tools work in the steps below.
Tools
- Nail Gun
- Air Compressor
- Roofing Stapler
- Roofing Hammer
- Compresor and Generator
- Various Hand Tools
- Tool Pouch
- Pry Bars
- Shovel
- Tin Snips
- Tape Measure
- Chalk Lines
- Utility Knife
- Extension Ladder
- Roof Rake/Fork
Materials
- Roofing Nails
- Waterproof Underlayment
- Tar Paper
- Starter Shingles
- Asphalt Shingles
- Flashing
- Drip Edge
Step By Step Guide: How to Roof A House
Step 1 – Measure Your Roof
This is where that handy tape measurer comes into play. Make sure you have all the proper dimensions of your roof so that you know how much material to buy. This is an important step for a homeowner and DIY roofing because, unlike a roofing contractor, you won’t have a use for excess materials. Getting the proper measurements will prevent you from wasting money on tools and materials.

Young handyman standing on high ladder and measuring roof with tape
Length x Width = Square Footage
Calculate the square footage of your roof by measuring the length and width of your roof one section at a time. Once you’ve measured all the sections, or panes, of your roof and calculated the square footage of each pane, add those together for your roof’s total square footage. You can then buy the proper square footage of shingles, underlayment, and other materials needed.
Step 2 – Protect Your House and Landscaping
After step 2 is when things start to get messy, so it’s best to protect your home and lawn before it’s too late. You should place tarps around your home and cover any exposed windows to prevent falling debris (shingles and nails) from damaging anything on your property and also to catch the debris. You’re already re-roofing your house; you don’t need to add another DIY project to fix damaged siding or a broken window.
Step 3 – Tear Up Those Old Shingles
Safely make your way up to your roof using your extension ladder. You will need a roof rake, prybar, broom, and a hammer to get your roof free of shingles and cleaned off. It’s best to start at the peak of your roof and begin by tearing off your ridge caps with your shovel or roof rake. The ridge caps are the large shingles on the peak of the roof.
(Image of ridge caps)
After tearing off the ridge caps, continue to work your way down one side of the roof. As you’re tearing off shingles, you’ll notice nails sticking out of your roof. Either remove the nails or use a hammer to flatten them, so they don’t create holes in your new roof. Ideally, you’ll have a dumpster beneath the edge of your roof for you to dispose of the old material. Once you’re done with one section of your roof, move your dumpster (if you have one) and continue until your whole roof is free of shingles.
Finally, take a broom and sweep off any remaining debris on your roof so that it is completely clean.
Step 4 – Lay Down the Underlayment
Underlayment is a self-adhering material that’s laid directly on the decking (the base wood) of your roof. The underlayment is used as an ice and water shield and is the base layer of protection for your decking. Along with your roll of underlayment, you should bring a staple gun up the ladder with you. Start on the bottom edge of your roof and roll the underlayment across the roof from left to right.
The bottom of the underlayment has a peelable film that you’ll remove so that the underlayment adheres to the decking of your roof. If you’re having a hard time getting it to stick, you can use the staple gun to staple the underlayment to the decking. After your first row of underlayment is down, overlap the row above by two to four inches and continue laying it down until you’ve reached the peak of your roof. Apply the underlayment to your entire roof before moving to the next step.
Step 5 – Time for Tar Paper
Now that the underlayment is in place, you can put your tar paper directly on top of it. The process is very similar, but the material is slightly different. Tar paper is an additional level of protection from ice, wind, and rain. The paper is coated with asphalt for that extra level of waterproofing. Just like with underlayment, you need to cover your entire roof with tar paper. Once again, make sure to overlap the tar paper by about two inches for maximum protection.
Step 6 – Install the Drip Edge and Flashing
The drip edge goes along the edge of your roof and helps to prevent water from dripping onto your home. The drip edge is also cosmetic as it makes your roof and home look really nice. You can install the drip edge by lining it up to the edge of the roof and nailing or drilling it into the decking of the roof.
Flashing is used to prevent pooling of water and to protect areas that may be susceptible to wind and rain damage. The most common places to install flashing are the valleys of your roof and around any protruding structures such as chimneys and vents. You can also install the flashing by drilling or nailing it into the decking. The flashing is the final layer of protection before your shingles are placed on.
Step 7 – Lay Down Starter Shingles
Finally, you get to use that nail gun! Starter shingles are an important part of DIY roofing because they act as a guide for the rest of your shingles. Begin by placing your starter shingle flush against the drip edge to establish a straight edge. The adhesive tar strip on the starter shingle should be closest to the drip edge. Maintaining your straight edge, pull the starter shingle a quarter inch over the edge of the drip edge. Now you can nail your starter shingle down with your nail gun or a simple nail and hammer, giving each nail about 4 inches of space in between. You can apply all your starter shingles at once or apply them as you get to each section of the house.
Step 8 – Install the Shingles
Installing asphalt shingles is tricky at first because there is a particular pattern you need to use to prevent leaks and ensure maximum protection. The first step of laying the shingles down is easy. You simply lay your first strip of shingles flush up against the starter shingle on the bottom left corner of your roof. Nail your shingle down, and continue by using a pyramid pattern to offset the shingles (See the image below)
(Image of Pyramid Pattern Shingles)
Be sure to overlap your shingles, and as you cut your shingle strips, don’t throw away the excess. You can use the extra length of the shingles to shingle the rest of your home. Continue installing the shingles in the pyramid pattern until you reach the peak of your home.
Step 9 – Install the Ridge Caps
If you’ve gotten to this point, congratulations! Your DIY roof is almost installed. The next step is capping the ridge, AKA the peak, of your home. These are special shingles that fold over both sides of the ridge. They are essential for the maximum protection of your roof. After nailing down the ridge caps, your roof is fully shingled!
Step 10 – Check the Roof for Imperfections
Now that all the hard work is done, you’ll want to give your roof one last look through. Check for lifted shingles, rows of shingles that line up perfectly (this will cause leaks), or any rips or tears. Also, makes sure there aren’t any protruding nails sticking out. If you find any issues, be sure to fix them promptly. If any of the imperfections listed above go unaddressed, your home could become severely damaged. You should check on your roof every few months to make sure everything looks good!
Step 11 – Clean Off Your New Roof
The last step is to take a broom and clean off any leftover debris or excess material. Be sure to go with the grain of your roof so that you aren’t lifting any shingles up accidentally.
Those are all the steps to DIY roofing on your home! If all of this seems overwhelming or you don’t think you’re up for the task of doing it yourself, take a look at find.construction. We have lists of great roofing contractors in your area!